Encrypt the whole thing.
Whole-disk encryption is an important aspect of security for many people. If you encrypt a disk properly and your computer falls into the wrong hands, those hands won’t be able to access your data.
The average computer user may or may not need to use whole-disk encryption; it depends on the type of data they store and their level of concern. However, encryption is an important tool for business and government users, particularly for portable computers such as laptops and tablets.

Encrypting a disk
Encrypting your whole disk keeps your files safe if your computer is lost or stolen. Windows Pro users can use BitLocker. Everyone can use VeraCrypt. Both require saving a recovery key or passphrase; without it, you risk losing your data. Once set up, encryption works quietly in the background.
Encrypt a disk using BitLocker
If you’re running a Professional edition of Windows or better1, and your disk is formatted using NTFS (most Windows hard disks are these days), Windows can encrypt your disk using BitLocker.
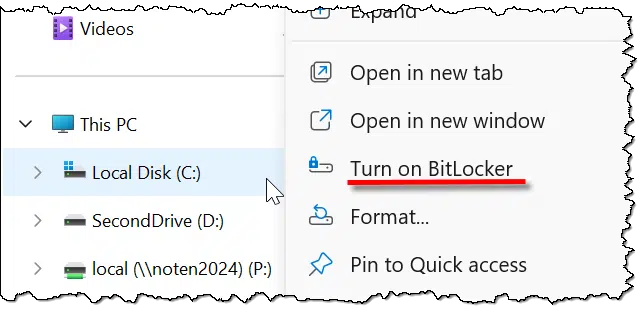
Much like encrypting folders, the technique is simple. Right-click on the drive in File Explorer and click on Turn on BitLocker.
This next step is critical. You must save a copy of the recovery key somewhere. Should you ever forget your password (or lose that USB key, if that’s what you select below), having a recovery key is the only way you can regain access to your encrypted data. Exactly how you save it is less important than that you save it somewhere, so that some days, months, or even years from now, you’ll have it should you need it.
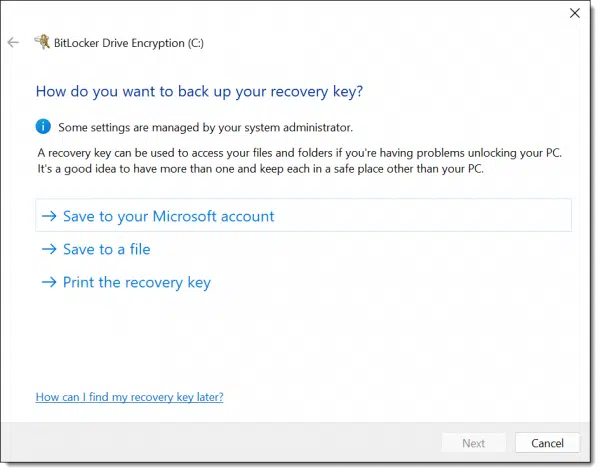
I elected to save to a file.
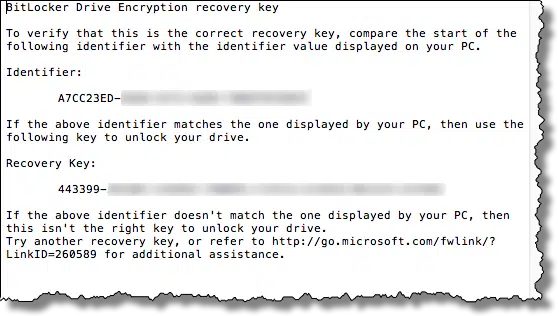
Note: this is sensitive data. Keep your recovery key in a secure location. Anyone who has access to it can decrypt your drive.
BitLocker then gives you the option to immediately encrypt only the existing files on your system or all of the files and currently free space.

The issue here is that when you delete a file in Windows, the data for that file is not actually removed from the hard disk. It’s marked as free space and doesn’t go away until sometime later, if and when new data is written on top of it. That implies that if you’ve used your machine for any length of time, the free space may include fragments of sensitive data. If you’re unsure, select “Encrypt entire drive”. Regardless of which you choose, all data written to the drive from here on out will be encrypted.
Next, BitLocker asks another question: the “mode” to be used.
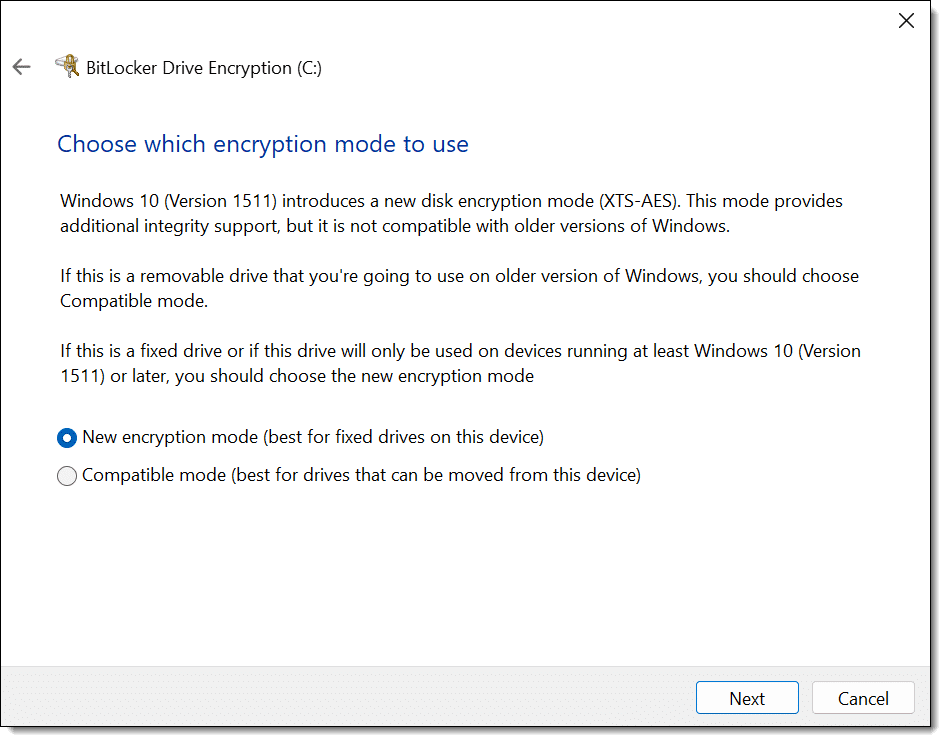
This is basically an improved encryption algorithm. If you’re encrypting your internal hard drive, I recommend selecting this new mode. If, as the prompt indicates, this drive might be taken to other machines, use the older, compatible mode.
Finally, it’s time to encrypt the drive.
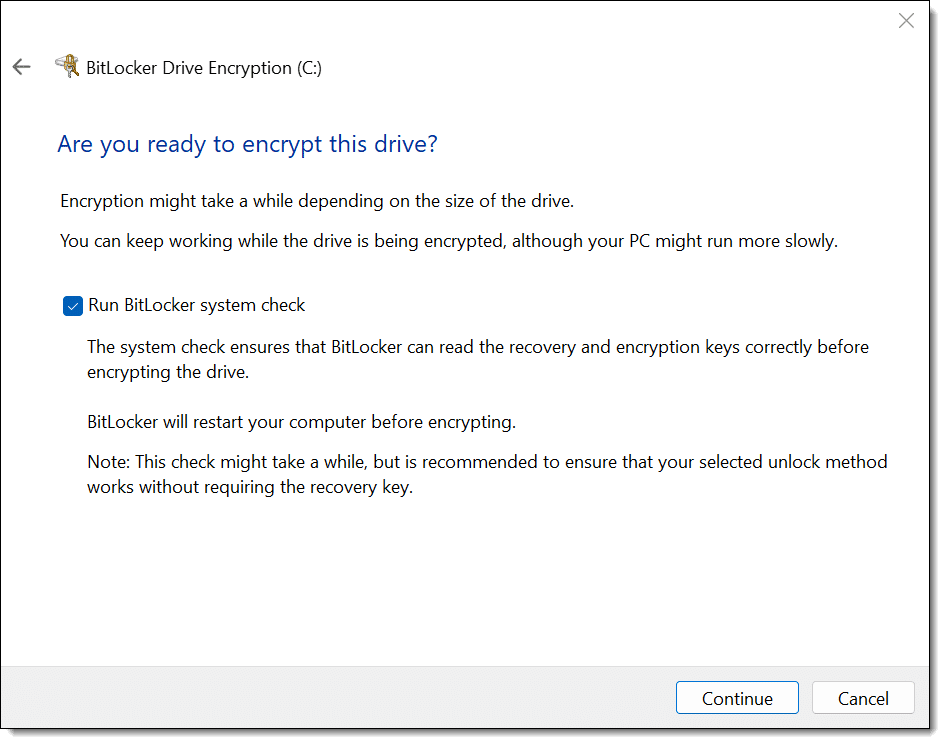
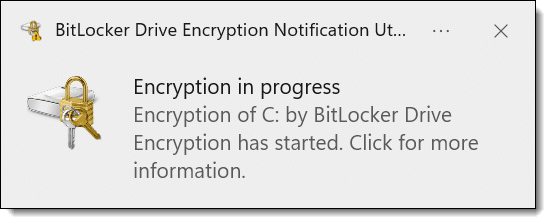
A reboot is required to begin the process. After rebooting, you’ll return to Windows as normal, with a notification.
Related

How Do I Know If My Hard Disk Is BitLocker-Encrypted?
Even running Windows Home edition, your hard drive might be BitLocker-encrypted without you realizing it. If you don’t have the recovery key, you could lose everything. Learn how to check, why it matters, and the simple steps to protect yourself before it’s too late.#179885
How long the encryption process takes depends on many factors, including the size of your disk, the speed of your computer, and what else you’re doing on the device while the encryption proceeds. You can continue to use your computer while the disk is being encrypted.
The good news: BitLocker is a strong, secure encryption tool built into Windows. Once encrypted, other than specifying the password to unlock the drive at boot time, it’s completely transparent.
The bad news: BitLocker is for Windows only, and not available for Windows Home editions2 or for drives formatted using anything other than NTFS. While it can encrypt disks to be shared with others, only machines running a compatible edition of Windows (Pro or better, supporting the same encryption mode) can decrypt the drives. Using BitLocker assumes you trust Microsoft, particularly if you use the option to store a backup of your recovery key in your Microsoft account.
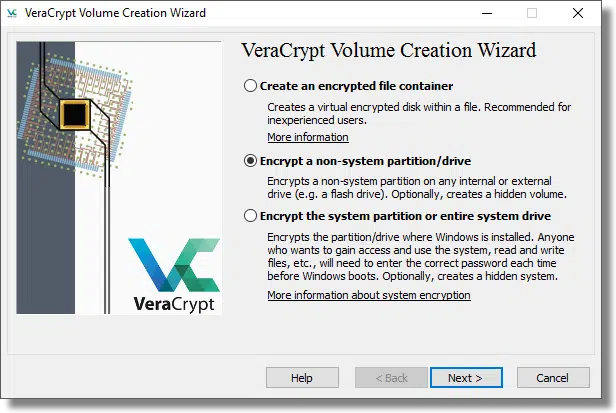
Encrypt a disk using VeraCrypt
VeraCrypt3 is a free third-party tool that supports, among several other things, whole-disk encryption.
I’m not going to cover this option in detail, as the VeraCrypt documentation is quite good.
The good news: in many regards, VeraCrypt works almost exactly like BitLocker. Once you specify the passphrase to gain access to an encrypted disk, its operation is transparent. VeraCrypt is free. Volumes encrypted using VeraCrypt should be inherently portable to any system, including non-Windows systems on which VeraCrypt has been installed. VeraCrypt works with all editions of Windows.
The bad news: As with BitLocker, if you lose or forget your passphrase, your data cannot be recovered. There is no back door. There is no recovery key. VeraCrypt is third-party, open-source software, which may raise trust issues for some.
Encrypt almost an entire disk using VeraCrypt
Related

How Do I Encrypt a Folder?
Want to keep your folders private? This article shows three ways to encrypt everything inside a folder. Each method has pros and cons, so you’ll learn which one best protects your files while balancing ease of use.#23097
Another approach is very similar to the approach I outlined in How Do I Encrypt a Folder? Rather than using whole-disk encryption, create a VeraCrypt container that is as large as possible on the disk you want to encrypt.
Let’s say the disk you want to use is 100 gigabytes in size and is empty. You would use VeraCrypt to create a container as large as possible, approaching 100GB4. That container would appear on the drive as a single, large file. When you mount it using VeraCrypt, another drive letter appears on your system. Files you read and write on that drive are transparently encrypted in the VeraCrypt volume. When it is dismounted, the drive letter goes away, and your encrypted data cannot be accessed.
The good news: VeraCrypt container volumes can be copied to other hard disks, or even other operating systems, and can be accessed as long as VeraCrypt is installed and you know the passphrase.
The bad news: This approach does not work for system drives (the drive containing Windows and from which you boot your system).
Do this
What’s most appropriate for you depends on your situation. Some general guidelines include:
- To encrypt your system drive, I recommend using the system-provided encryption if you can. That means using BitLocker in Windows.
- If you can’t use BitLocker, use VeraCrypt to encrypt your system drive.
- For any other drive — particularly those you might consider sharing with other machines — consider the “almost whole disk” approach I’ve outlined, using VeraCrypt containers instead of whole-disk encryption. It’s technically less complex and somewhat less fragile. It’s also somewhat more flexible, allowing you to copy the container to other drives or machines should you be so inclined.
Regardless of which approach you decide to take, make absolutely certain that you have your recovery key or passphrase backed up, preferably in multiple ways. Without them, your data will be lost.
Subscribe to Confident Computing! Less frustration and more confidence, solutions, answers, and tips in your inbox every week.
Podcast audio

Footnotes & References
1: Essentially, this boils down to anything but the Home or Starter editions. In File Explorer, right-click on My Computer or This PC, select Properties, and look for “Windows Edition” to see what you have.
2: Windows 11 Home edition now includes device encryption.
3: The successor to the now-defunct TrueCrypt.
4: Due to overhead, it can never be exactly as large as your hard disk’s capacity. You may need to experiment with sizes that work, or just plan on leaving a little unencrypted space left over. For example, you might create a 99GB volume on a 100GB disk.

No way I would trust my data encryption to BitLocker by M$ or save my encryption keys to their cloud… oh hell no!! Even though there’s an option to save the keys locally and not the cloud, I just don’t trust M$. VeraCrypt is a more secure option by not storing keys in the cloud, and as an open source software the code has been independently reviewed.
Leo’s suggestion to create a VeraCrypt volume nearly the size of the external drive is excellent for offline storage.
However, for files on the system drive, I prefer Cryptomator. It offers more flexibility since oversized containers can consume critical disk space, potentially blocking software installations or interfering with temporary file operations. Cryptomator only uses the space occupied by the files.
I may have misread you but as far as I know Windows 10 Home supports encryption. My Windows 10 Home computer reports it meets prerequisites. Bitlocker is enabled and I have a key. Here is an extract from a Bing search:
Prerequisites for Device Encryption
Before enabling Device Encryption, ensure your device meets the following requirements:
Operating System: Windows 10 or 11 (Home, Pro, Enterprise, or Education)
Hardware: Trusted Platform Module (TPM 2.0), UEFI firmware with Secure Boot enabled, Modern Standby support (or S0 state)
Drive Configuration: System drive formatted as NTFS, with a separate FAT32 system partition for UEFI boot
Microsoft Account: Recommended for automatic recovery key storage
Device Encryption is a simplified encryption feature that encrypts your system drive.
UEFI, a Microsoft account and a TPM are required for Device Encryption on Windows 10 Home.
I use Veracrypt instead. In some ways it’s better than Bitlocker, but it runs a bit slower and is a little more work to set up. The advantages are, no special hardware requirements, it supports stronger encryption, and it doesn’t require a Microsoft account or domain.
That’s actually a change. Home now supports “device encryption”, but you still won’t find “Bitlocker” on any of the File Explorer menus and settings.