I call it the “local account two-step”.
Microsoft has removed various workarounds discovered to allow Windows 11 to be installed without using a Microsoft account. Their recent justification claimed a change was to “avoid missing important parts of the setup process”.
Important for whom?
The technique I’m about to describe is simple but time-consuming. So far, my results show it works… for now. The resulting installation of Windows 11 Home has only a local account.
The process starts a little further back than you might imagine.

The Windows 11 local account two-step
- Install Windows 10 from scratch, setting up only a local account.
- Upgrade the installation to Windows 11.
- Enjoy (optional).
Step 1: Install Windows 10 from scratch with only a local account
Boot from Windows 10 installation media and set up Windows 10.
Yes. Windows 10. It’s not our final destination, of course, but it’s the first step in our local account two-step process.
The easiest way to install Windows 10 with only a local account is to disconnect the internet. Unplug the Ethernet cable or turn off the Wi-Fi adapter. The setup program may complain, but forge ahead anyway without connecting.
Eventually, you’ll be asked, “Who’s going to use this PC? What name do you want to use?”
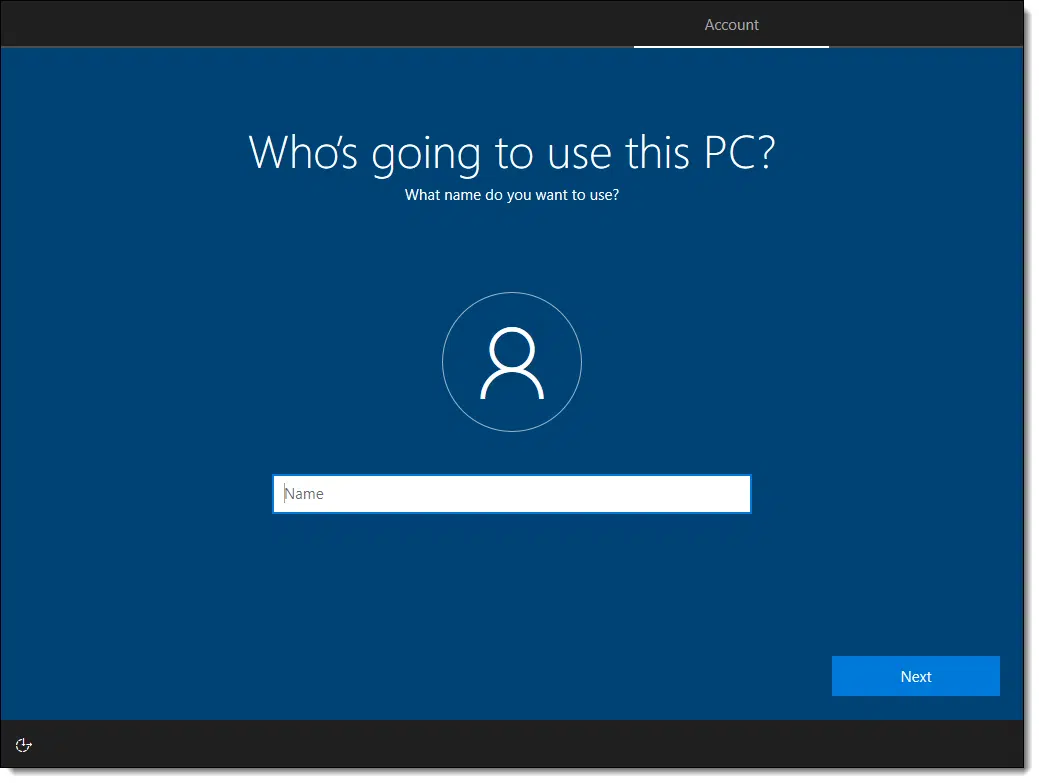
This is the username of your local account. For example, I generally use “leon”1.
Click on Next, and you’ll be asked to provide a password (twice) and set answers to some recovery questions.
Complete the Windows 10 installation. Even when done, do not connect to the internet.
Help keep it going by becoming a Patron.
Step 2: Upgrade to Windows 11
Replace the Windows 10 installation media with Windows 11 installation media.
Run the “Setup.exe” file found there.
Assuming your computer meets Windows 11’s minimum requirements, the Windows 11 upgrade will proceed.
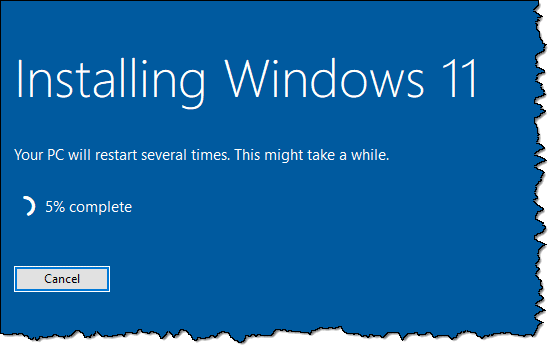
Eventually, after the inevitable copies and installs and perhaps even a reboot or two, you’ll find Windows 11 ready to sign in.
With your local account.
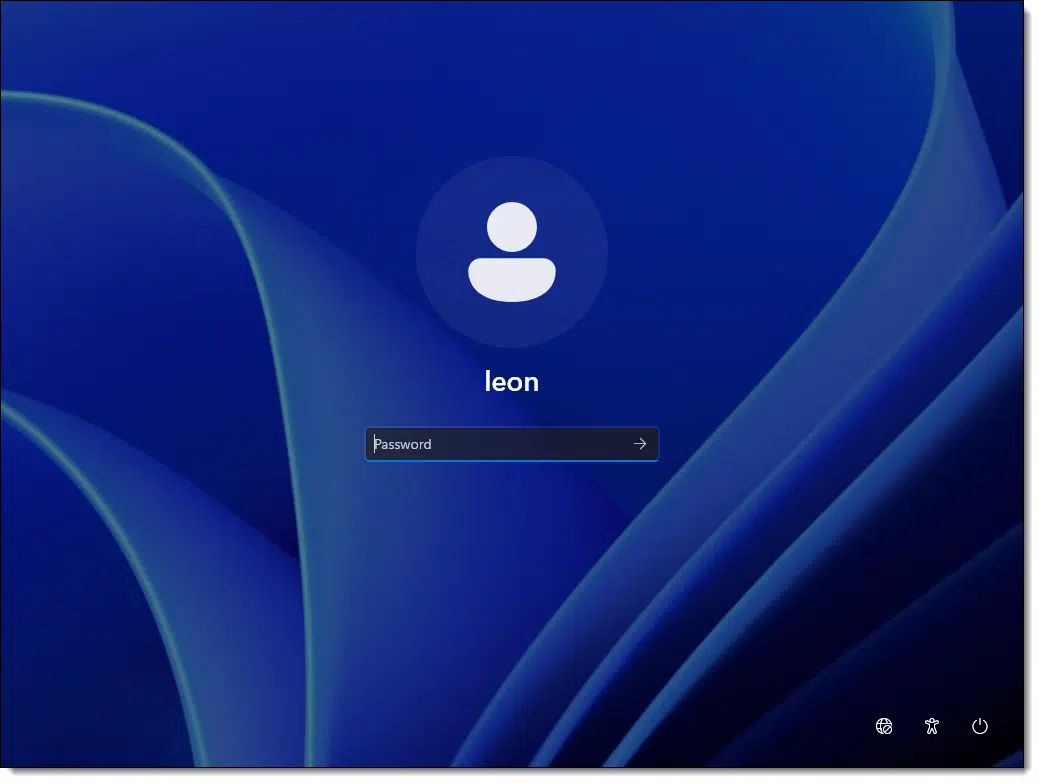
If you now examine the accounts in Windows 11 settings, you’ll see that there’s only a single local account with no association to a Microsoft account.

What happens next
Now, of course, you connect to your network and let Windows 11 update itself and more.
Be careful!
Windows will “encourage” you to sign in with a Microsoft account multiple times and in multiple ways. Assuming you want this computer to have nothing to do with a Microsoft account, resist the requests. Signing in to any service with a Microsoft account, even once, can have ripple effects that go far beyond whatever service you think you’re signing into (particularly if you don’t read the fine print).
I assume you understand what you’re missing without a Microsoft account. Things like backing up BitLocker recovery keys, using cloud storage, and managing other services and features become your direct responsibility.
I totally understand that, for many people, avoiding those features is exactly the point.
Do this
As I said, this process is simple although time-consuming, but you can now once again set up Windows 11 with only a local account.
At least until Microsoft puts up another roadblock.
Subscribe to Confident Computing! Less frustration and more confidence, solutions, answers, and tips in your inbox every week.
Podcast audio

Footnotes & References
1: Which literally harkens back to my first email address at Microsoft in 1983.

Hi Leo –
Interesting article and yes a lot of work.
I have a few questions –
Does this affect any Microsoft licenses that you may have? I think they are tied to your “Microsoft” account.
Does this affect Onedrive? Since it is not a Microsoft account, you should not get the 5 Gb of cloud storage (I think).
Again Thanks for the articles and all the articles you put out – they are GREAT!
It won’t affect any licenses. They’ll stay connected to that account, becaue the account isn’t connected to that computer.
If you have a OneDrive account, it will remain connected to your Microsoft account, although if you don’t access your account, the account will eventually be closed for lack of use, so log in to your Microsoft account (Outlook.com or OneDrive.com) periodically.
You shouldn’t log in to any Microsoft account in Windows, BUT there’s an exception. You can use Microsoft services (like Outlook.com, OneDrive, or Office.com) in your browser without affecting your Windows login.
And this is where my own paranoia kicks in: my immediate thought was “for now”.
I hope they aren’t reading this. It might give them an idea. 🙂
As a member of the Windows Insider program I was able to download the Windows 11 25H2 ISO in early October. I used the Rufus tool to create the bootable USB rather than the Microsoft Media Creation Tool. Rufus has a checkbox you can select to automatically give you the “I don’t have an internet connection” option when it comes time to set up an account. This saves you from the SHIFT-F10 and OOBE\BYPASSNRO.
Windows 11 installed in a clean C partition without a Microsoft account, and I was able to strip out Onedrive (finally) and relocate my user folders.
And I can still use rclone to map a drive letter to my online Onedrive storage if need be. The difference is I get to choose what goes into cloud storage and when, not Microsoft.
If you use Rufus to create a Windows 11 installation USB stick, the latest release of that software will offer options that will allow you to install Windows 11 directly on any computer, even those that don’t meet Microsoft’s hardware requirements as well as allowing you to have only a local account, or you can choose the name of your account’s folder if you choose (I haven’t tried that one yet, so I don’t know how it works), even if you use your Microsoft account to sign in. That’s how I re-installed Windows 11 on my older Dell Inspiron 5555 with an AMD A-8 CPU, and so does not meet the above mentioned hardware requirements, and it’s running very well, considering the age and speed of the above mentioned laptop PC.
Ernie
It seems that for every iteration of installing Windows people start from the ISO and then jump through hoops. There is another way to install a Windows – if you’ve already done it once on one other machine. Use whatever imaging or cloning utility you want, take a system image of an installed OS, and then “restore” the image on a new drive or the drive of another machine. Very often it will magically work. I use Aomei Backupper imaging tool.
Sometimes you’ll run into a problem with the target machine not booting because the boot sector (GPT/MBR) got corrupted. But you can fix that with a recovery USB or CD which you should already have. All imaging software tools allow you to create a recovery USB/CD, which includes a utility to fix boot problems.
One advantage of this approach is that you setup/cleanup Windows once on the first machine and then “copy it” over to other machines. That includes all your installed software. You can also follow this approach for creating a multi-boot machine, for example with Windows 10, 11, 7 (make Windows 10 the first partition).
“Very often it will magically work.”
Very often it will not work.
Very often it will seem to work, but exhibit strange behavior and other failures at random times.
I have long recommended against this approach. A true install from scratch is much less fragile.
First, I must be one very lucky person with several computers (desktops and laptops) all behaving well with image installed Windows (from XP to 11). It depends on how many computers you need to install. Even if something goes wrong, it’s worth the reduction in time, aggrevation and recordkeeping overhead.
Second, BIG companies use a similar approach to install and configure thousands of computers … perhaps not with consumer imaging tools, but there are professional tools for this purpose, including Microsoft’s MDT and WDS.
Third, when it comes to strange behaviors, instability, or failures, what else is new? We’re talking about Windows. After all, thousands internet tech gurus make a good living off of Windows strangeness.
The issue is drivers. If a critical one — like a chipset or graphics driver — isn’t compatible, the system won’t boot. Less essential drivers are more forgiving and can usually be installed or updated later.
Large companies are typically installing on identical fleets of machines, where the technique is most likely to work. And as you say, they use special tools that also account for differences.
Microsoft and by extension Windows exist to make money, a lot of money. Naturally they will do anything to keep making money. I agree that Microsoft has gone too far recently with there intrusion into MY computer and forcing Microsoft account is a big intrusion. My answer to Microsoft was eleven years ago I put on my big boy pants and switched to Linux and got back control of MY computers. For me the learning curve was not that big or hard since I had been working on computer for 45 years at that time. For others the internet is full of help to learn Linux.
My advice is go for it, you won’t regret it!
so it worked and i was intalling win 11 on VM Libvirt. I disconnected internet and it just stated ops several times, probaly about 6. I just try again eah time nd finaly it did similar to your instructions to the script and hence a local account created. Thats with a in 11 ISO. so it seems that internet is that missing piece.
Can you still tell the installation program that you will be joining a domain and then not do that? That has left me with a local account in Win10.
Okay, this still works. I’ve used it on 2 new PC’s lately.
Step 1 – Tell Windows you want to install for school or work.
Step 2 – It says “Let’s set things up for your work or school. Do NOT sign in. Instead select “Sign-in Options”.
Step 3 – It again says “Let’s set things up for your work or school. Select “Domain join instead.” You don’t need to do anything else as you never really intended to join a domain. You have your local account!
ALL DONE. Finish any way you want.